I will admit, there is a bit of a learning curve when it comes to making gluten-free pasta. It’s not like the traditional semolina pasta that you can do anything short of leaving it in the boiling water for 30 minutes and it turns out fine.
There’s almost a science to this, which sounds really extra, but it’s true.
Once I’d made gluten-free pasta that turned into a mushy mess for about the tenth time I finally decided to do some research and experimenting of my own to see if I could figure out what I was doing wrong.
In doing all of this, I discovered a few tricks that have led me to have almost perfectly cooked gluten-free pasta. And I say “almost” because I still have a hard time with the thought of “perfect gluten-free pasta”. I’m weird, I know. But I can say that the tricks I’m going to mention, once employed, have kept the mushiness at bay.
Tip #1: Cook according to package directions.
I am actually serious. Every box has a cook time, usually on the front, if not on the back panel that has a time range for “doneness”.

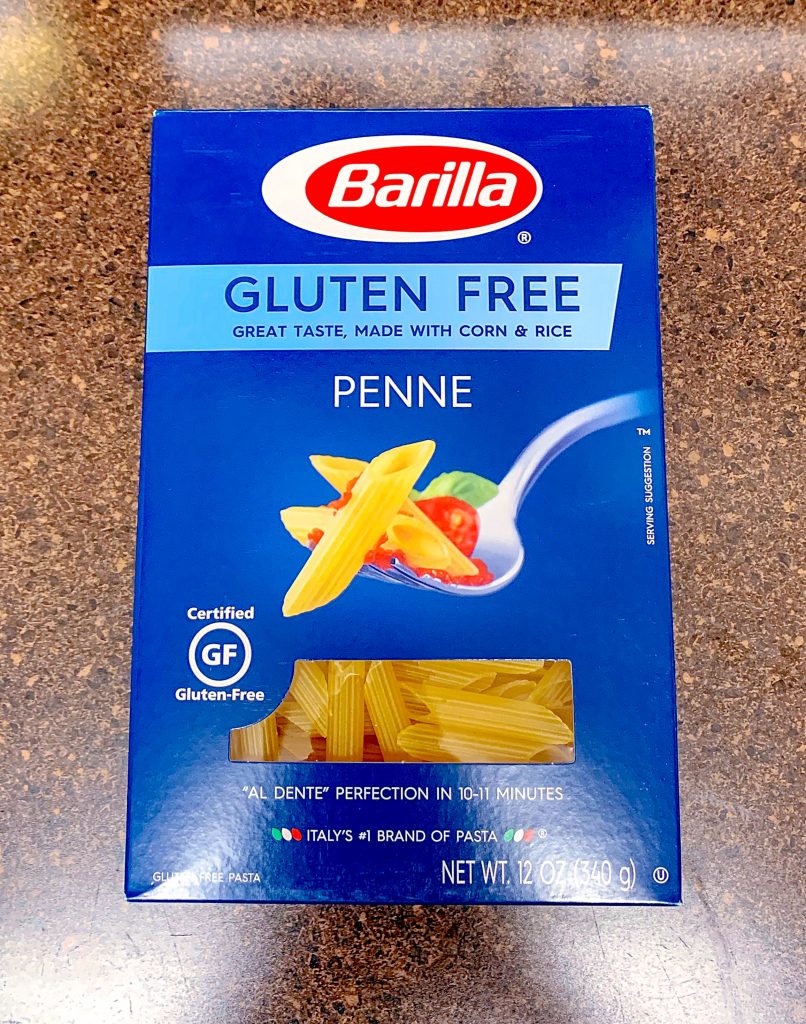
As an example, this Barilla penne pasta (which I’m also using for my pasta salad here in a minute) has a cook time of 10-11 minutes.
I use the times as a guide depending on what I’m making the pasta for. If I’m just making a stovetop sauce, like my quick and chunky pasta sauce, I cook the pasta for the longer cook time (11 minutes), but not a minute longer.
If I’m doing a baked pasta, I cook it for the shorter (10 minute) cook time.
I realize that it’s a one minute time difference, but that one minute can make all the difference in the taste and texture of your pasta. The same can also be said for cooking it a minute too long. One minute over it’s normal cooking time can take gluten-free pasta to a mushy and destroyed mess.
So, set a timer, keep an eye on the clock, whatever you need to do, but follow that time recommendation to the letter.
Tip #2: Don’t overstir your pasta when it’s cooking.
I’ve gotten into the habit of stirring my pasta three times throughout the cooking process. Once about a minute in, to make sure that none of it is sticking to each other or the pot.
I stir again about half way through, again to make sure none of it is sticking together (which gluten-free pasta really likes to do). If it is sticking together, this is when I gently try to separate it all from each other with the wooden spoon.
I do my final stir around when we’re hitting that timeframe of doneness that the box indicates.
I noticed the more I stirred it around and messed with it, the more destroyed the pasta was by the time I drained it. Gluten-free pasta can be very delicate and fragile, so the less you mess with it, the better it will be.
Tip #3: Use more water and salt than you’re used to.
Gluten-free pasta has a tendency to need a lot of water to really cook well. For most traditional pasta you can cook it in like 4-6 cups of water and it’s fine.
Gluten–free pasta does better in 6-8 cups of water.
It gives it more space to move around and it gives it more water to absorb, which it also needs to achieve the al dente texture that we all want.
I’ve also found that a little extra salt helps, especially with this next tip…which I realize may be alarming to some of you….and I apologize advance.
Tip #4: Quickly rinse your pasta after it’s cooked.
I KNOW I’M SORRY!
Rinsing pasta is a cardinal sin. I know. And I’m sure so many of you are about to hit the unsubscribe button.
I legit feel like a fraud every time I do it. I’m half expecting Scott Conant to walk in my kitchen and smack the colander out of my hand each time I do it.
Hear me out:
Once you’ve cooked it according the box and you’re draining it; you HAVE to stop the cooking process. Even once it’s in the colander, the pasta will still continue to cook for a couple minutes in the heat that is left over thanks to carryover cooking.
You have to stop that. That carryover cooking will ruin the perfection you created by following directions.
Rinse the pasta quickly, like 10-15 seconds, under warm/cool water and toss it around the colander and it will shock the pasta to stop cooking.

The reason I mentioned extra salt earlier is because you’re obviously going to lose some of the salt that is adhering to the outside of the pasta noodle by rinsing. But you will get a good amount of salt cooked into the noodle itself, so you shouldn’t miss it. But I always add a little extra now to make sure I don’t.
Tip #5: ALWAYS finish pasta in sauce.
I feel like this should be the standard whether it’s gluten-free pasta or not. I can’t tell you how annoyed I get, even at a restaurant, when I get a plate of pasta (gluten-free or not) and the pasta is just spooned on top and you have all this dry pasta underneath.
If you just rinsed your pasta to stop the cooking process, odds are you shocked it a little, which might mean that it’s a little harder/tougher than it was 30 seconds prior.
That’s fine.
As soon as you’ve rinsed and tossed it around the colander, throw it into the sauce and cook the pasta in the sauce for a couple of minutes. That time in the sauce will allow the pasta to absorb the sauce, which will finish cooking the pasta and bring it back to the doneness you created before rinsing.
I know all of this seems really backwards and weird, but I promise if you aren’t rinsing, within a minute of the just drained pasta hitting the pasta sauce, it’ll be destroyed mush. At least that’s what always happened to me. It’s not appetizing.
If you’re making a pasta salad like I am here, toss the pasta in some of the dressing as soon as it’s rinsed and then let it sit for about 20 minutes. Letting it sit will let the pasta absorb the sauce and get back to that doneness you originally got at the end of cooking. You’re going to likely use more dressing than you normally did for “regular” pasta salad asa gluten-free pasta absorbs sauce a lot more than semolina pasta, so just be prepared for that.

The Results
I have yet to have mushy pasta since making it in this way. It’s that simple.
I typically make my pasta noodles a little bit before Devon so that I don’t have to use so many different dishes, colanders (and yes I know, some people have to use different dishes for different pastas, again, you do you, I’ll do me, I’m fine with just making my stuff before his) and whatnot.
It’s not mushy, even after sitting for awhile.
I made my linguine and peppers this past weekend (well fettuccine for me because I couldn’t find gluten-free linguine at the store) and my pasta was sitting in the sauce for about 10 minutes before I ate it and it was still perfect. No mush, no destroyed pasta, nada. The sauce was cooked into the pasta because of how long it sat in there and it actually just had a really good flavor.
If you’re making a pasta salad, like you’re about to see here; as I said toss the pasta in the dressing and let it sit for a little while at room temperature. After about 20 minutes, give it a bit more dressing if it’s drying up and then add the rest of the veggies and extras that are going along with it.
You can refrigerate gluten-free pasta salad and have it still be edible the next day (gluten-free pasta is known for getting hard in the fridge) especially if you let the dressing soak in before refrigerating. That dressing will keep the pasta soft and edible. You can also pull it out of the fridge about 30 minutes before you’re going to eat to allow it to come to room temperature, which should also soften any noodles if needed.
Pasta salad was a staple meal for me before celiac; I ate it for lunches a lot, quick dinners, and it was amazing meal prep.
All the cooking issues I had with gluten-free pasta made me apprehensive about making pasta salads because I didn’t think it would turn out well. Following the tips I’ve listed above have actually made it really easy to make a pasta salad that I can store in the fridge and pull out for lunch throughout the week as I need to.

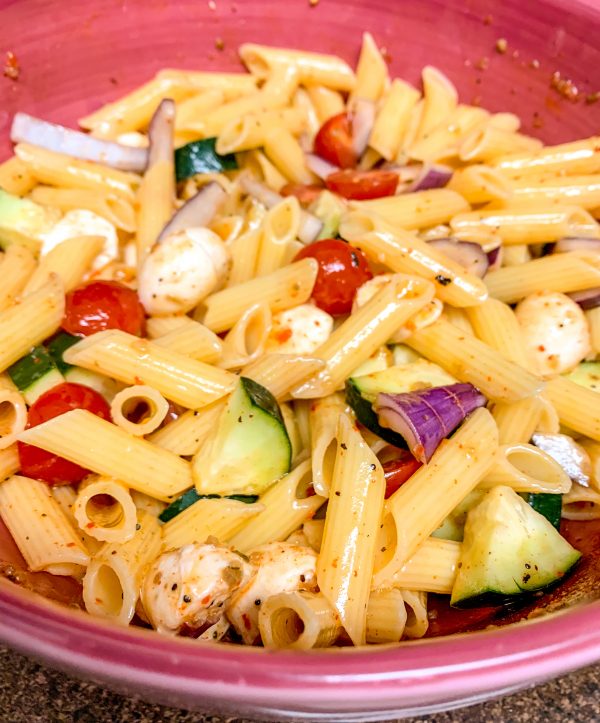
One thing I like about pasta salads, is you can literally put anything in them and it’ll taste amazing. This one is my simple go-to recipe. I am using the Barilla Gluten-Free Penne in this one just because that’s the shape I wanted for this instance but you can use any shape/pasta you want.
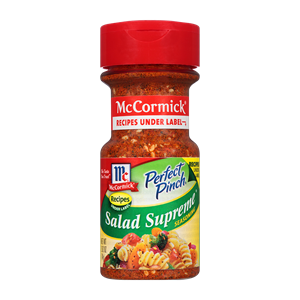
I also used a forever closet pantry staple of McCormick Salad Supreme Seasoning. There was talk at one point about this spice blend having gluten in it, but if it once did, it no longer does. McCormick has been really committed to making their products accessible to those with celiac and intolerances, which is great. All of the ingredients are listed on the label, none of which contain gluten.

Salad Supreme is just a great spice blend that really amps up the Italian dressing I’m using in this. A little can go a long way with this seasoning blend, so you don’t want to overdo it, but it is an amazing addition to any salad. It’s been in my pantry since I was a kid and I think it always will be.


| Prep Time | 10 minutes |
| Cook Time | 15 minutes |
| Servings |
servings
|
- 1 12oz box Gluten-Free Pasta any variety, brand, type you want
- 1 1/2 cups Italian Dressing you can make your own or use the bottled like I did here
- 1.5 tsp McCormick Salad Supreme Seasoning
- 1 Cucumber chopped
- 1 red onion chopped
- 6 oz mozzarella cheese chopped
- 6 oz grape or cherry tomatoes halved
Ingredients
|

|
- Cook pasta according to package directions (see reasons why above). Rinse pasta (again...see above).
- Transfer rinsed pasta to a bowl and toss with one cup of the Italian dressing and salad supreme seasoning. Fully coat the pasta and allow the pasta to rest for 20-30 minutes.
- Once rested, combine vegetables and cheese with the pasta. Stir to combine. Can be served immediately or refrigerated for up to four days.
Can be made with any veggies/meats you like.
Can also be made with semolina pasta.
